How to Reserve an IP Block
Suppliers can temporarily hide one or more of their IP-Blocks from the Marketplace using a Reserve. Once a reserve becomes active on the selected start date, the reserved blocks are no longer visible to Customers and cannot be rented until the reserve is deleted.
💡 Related: Before you can create a reserve, the IP-Block must first be imported and approved on the platform. See How to Import an IP Block.
Prerequisites
- You must have an approved Business Account.
- You must have at least one IP-Block with Avail status imported on the platform.
What is a Reserve?
A Reserve is a Supplier-controlled mechanism that schedules the removal of selected IP-Blocks from the Marketplace starting from a chosen date.
Once the reserve start date is reached:
- The block is not visible on the Marketplace.
- The block cannot be rented by Customers.
- The block remains accessible to the Supplier under My reserves.
The Supplier can delete the reserve at any time — before or after the start date — to make the block available on the Marketplace again.
Step 1 — Open My Reserves
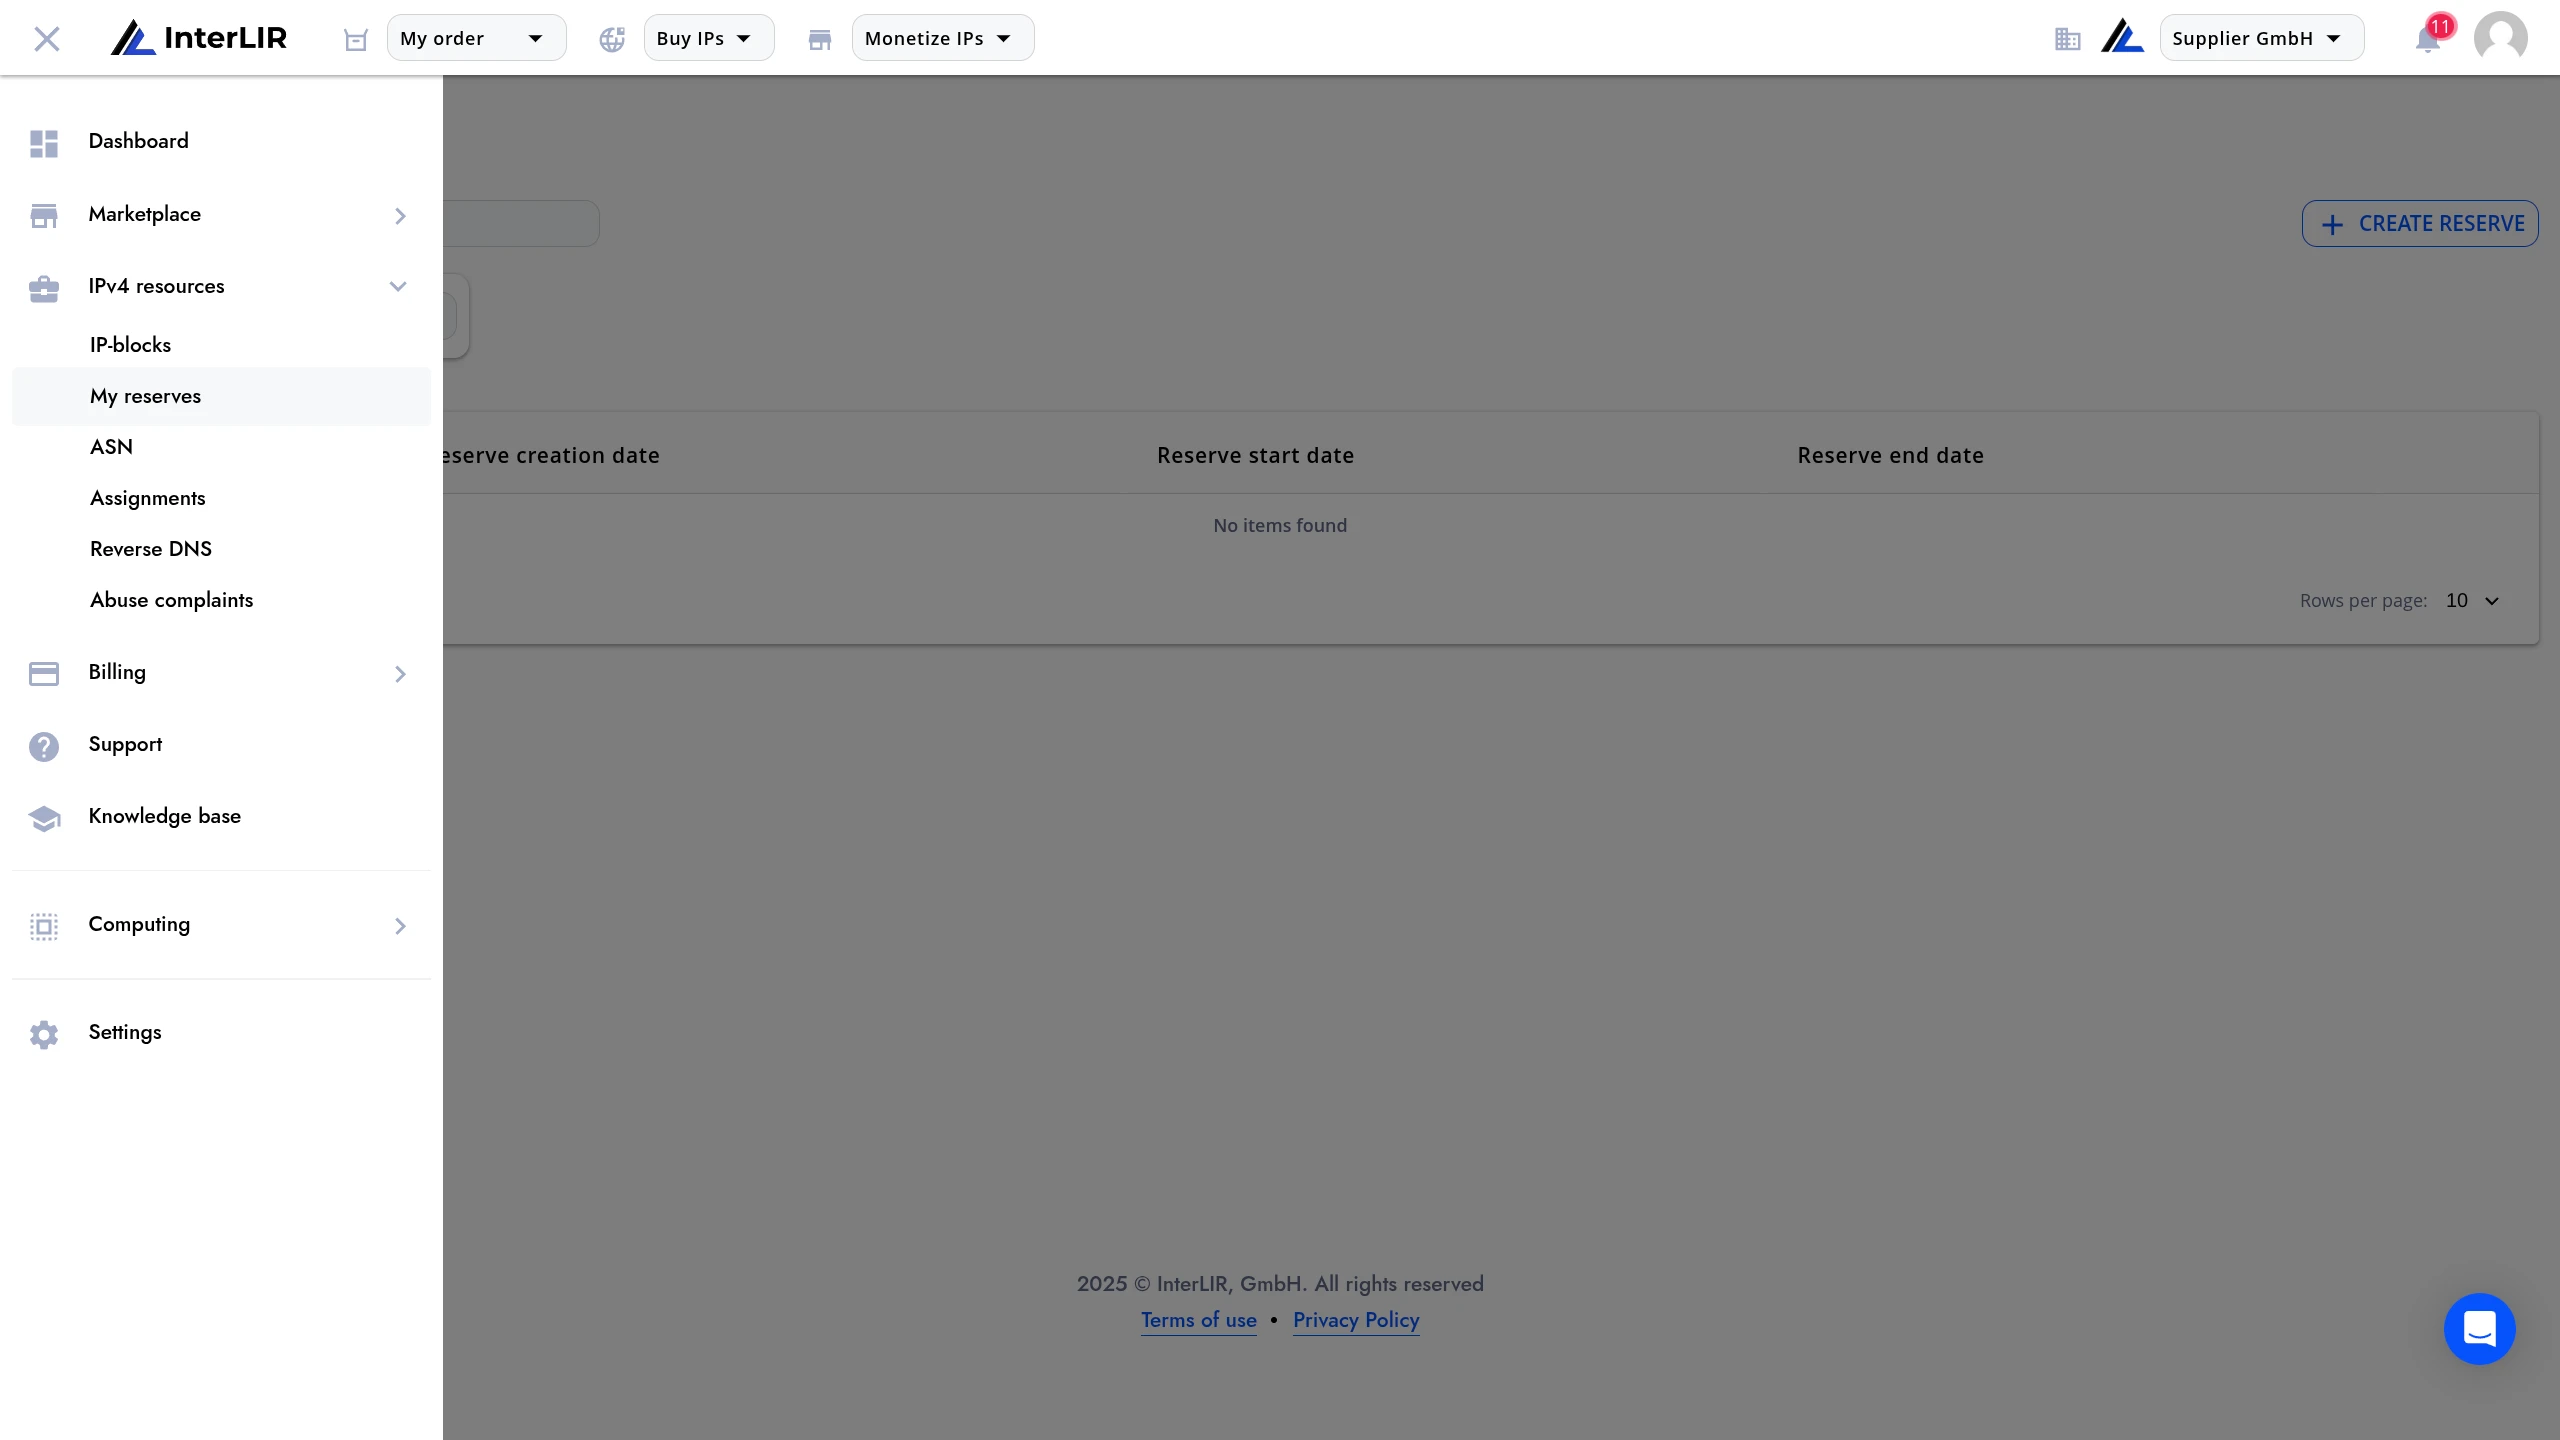
Navigate to IPv4 resources → My reserves.
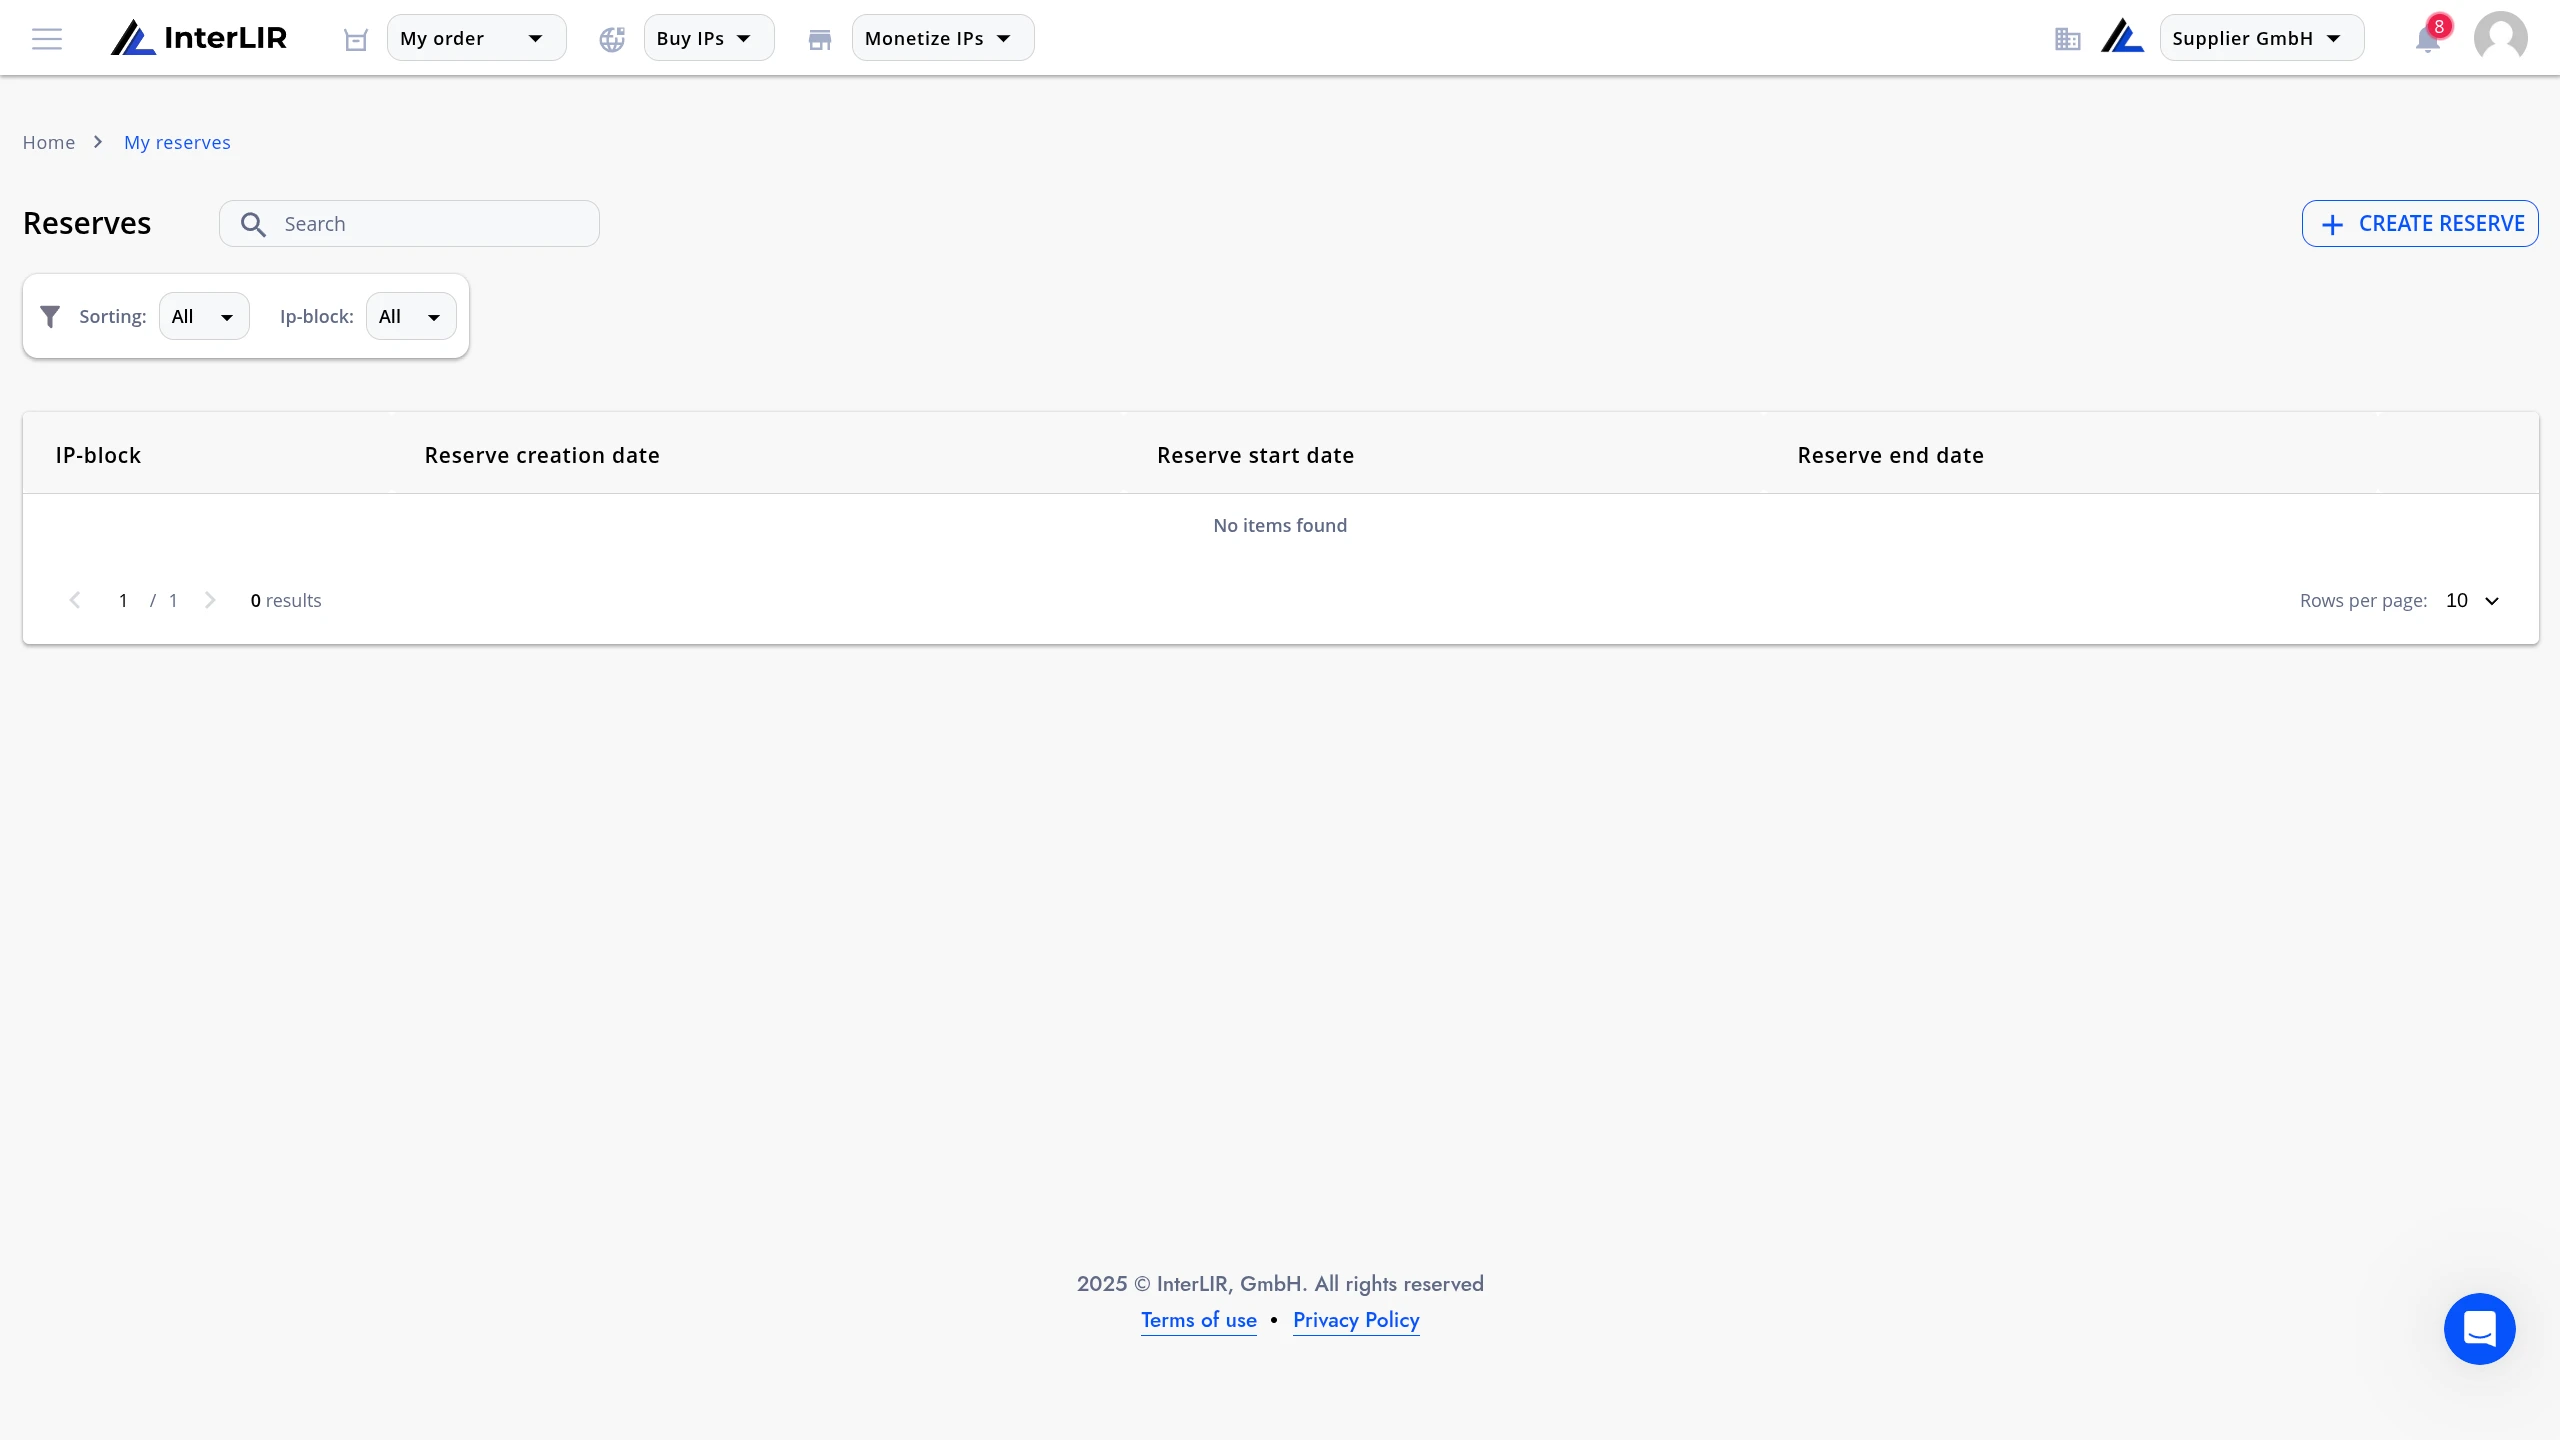
You will see the reserves table. If no reserves have been created yet, the table will show No items found.
Step 2 — Create a Reserve
Click + Create Reserve in the top-right corner of the page.
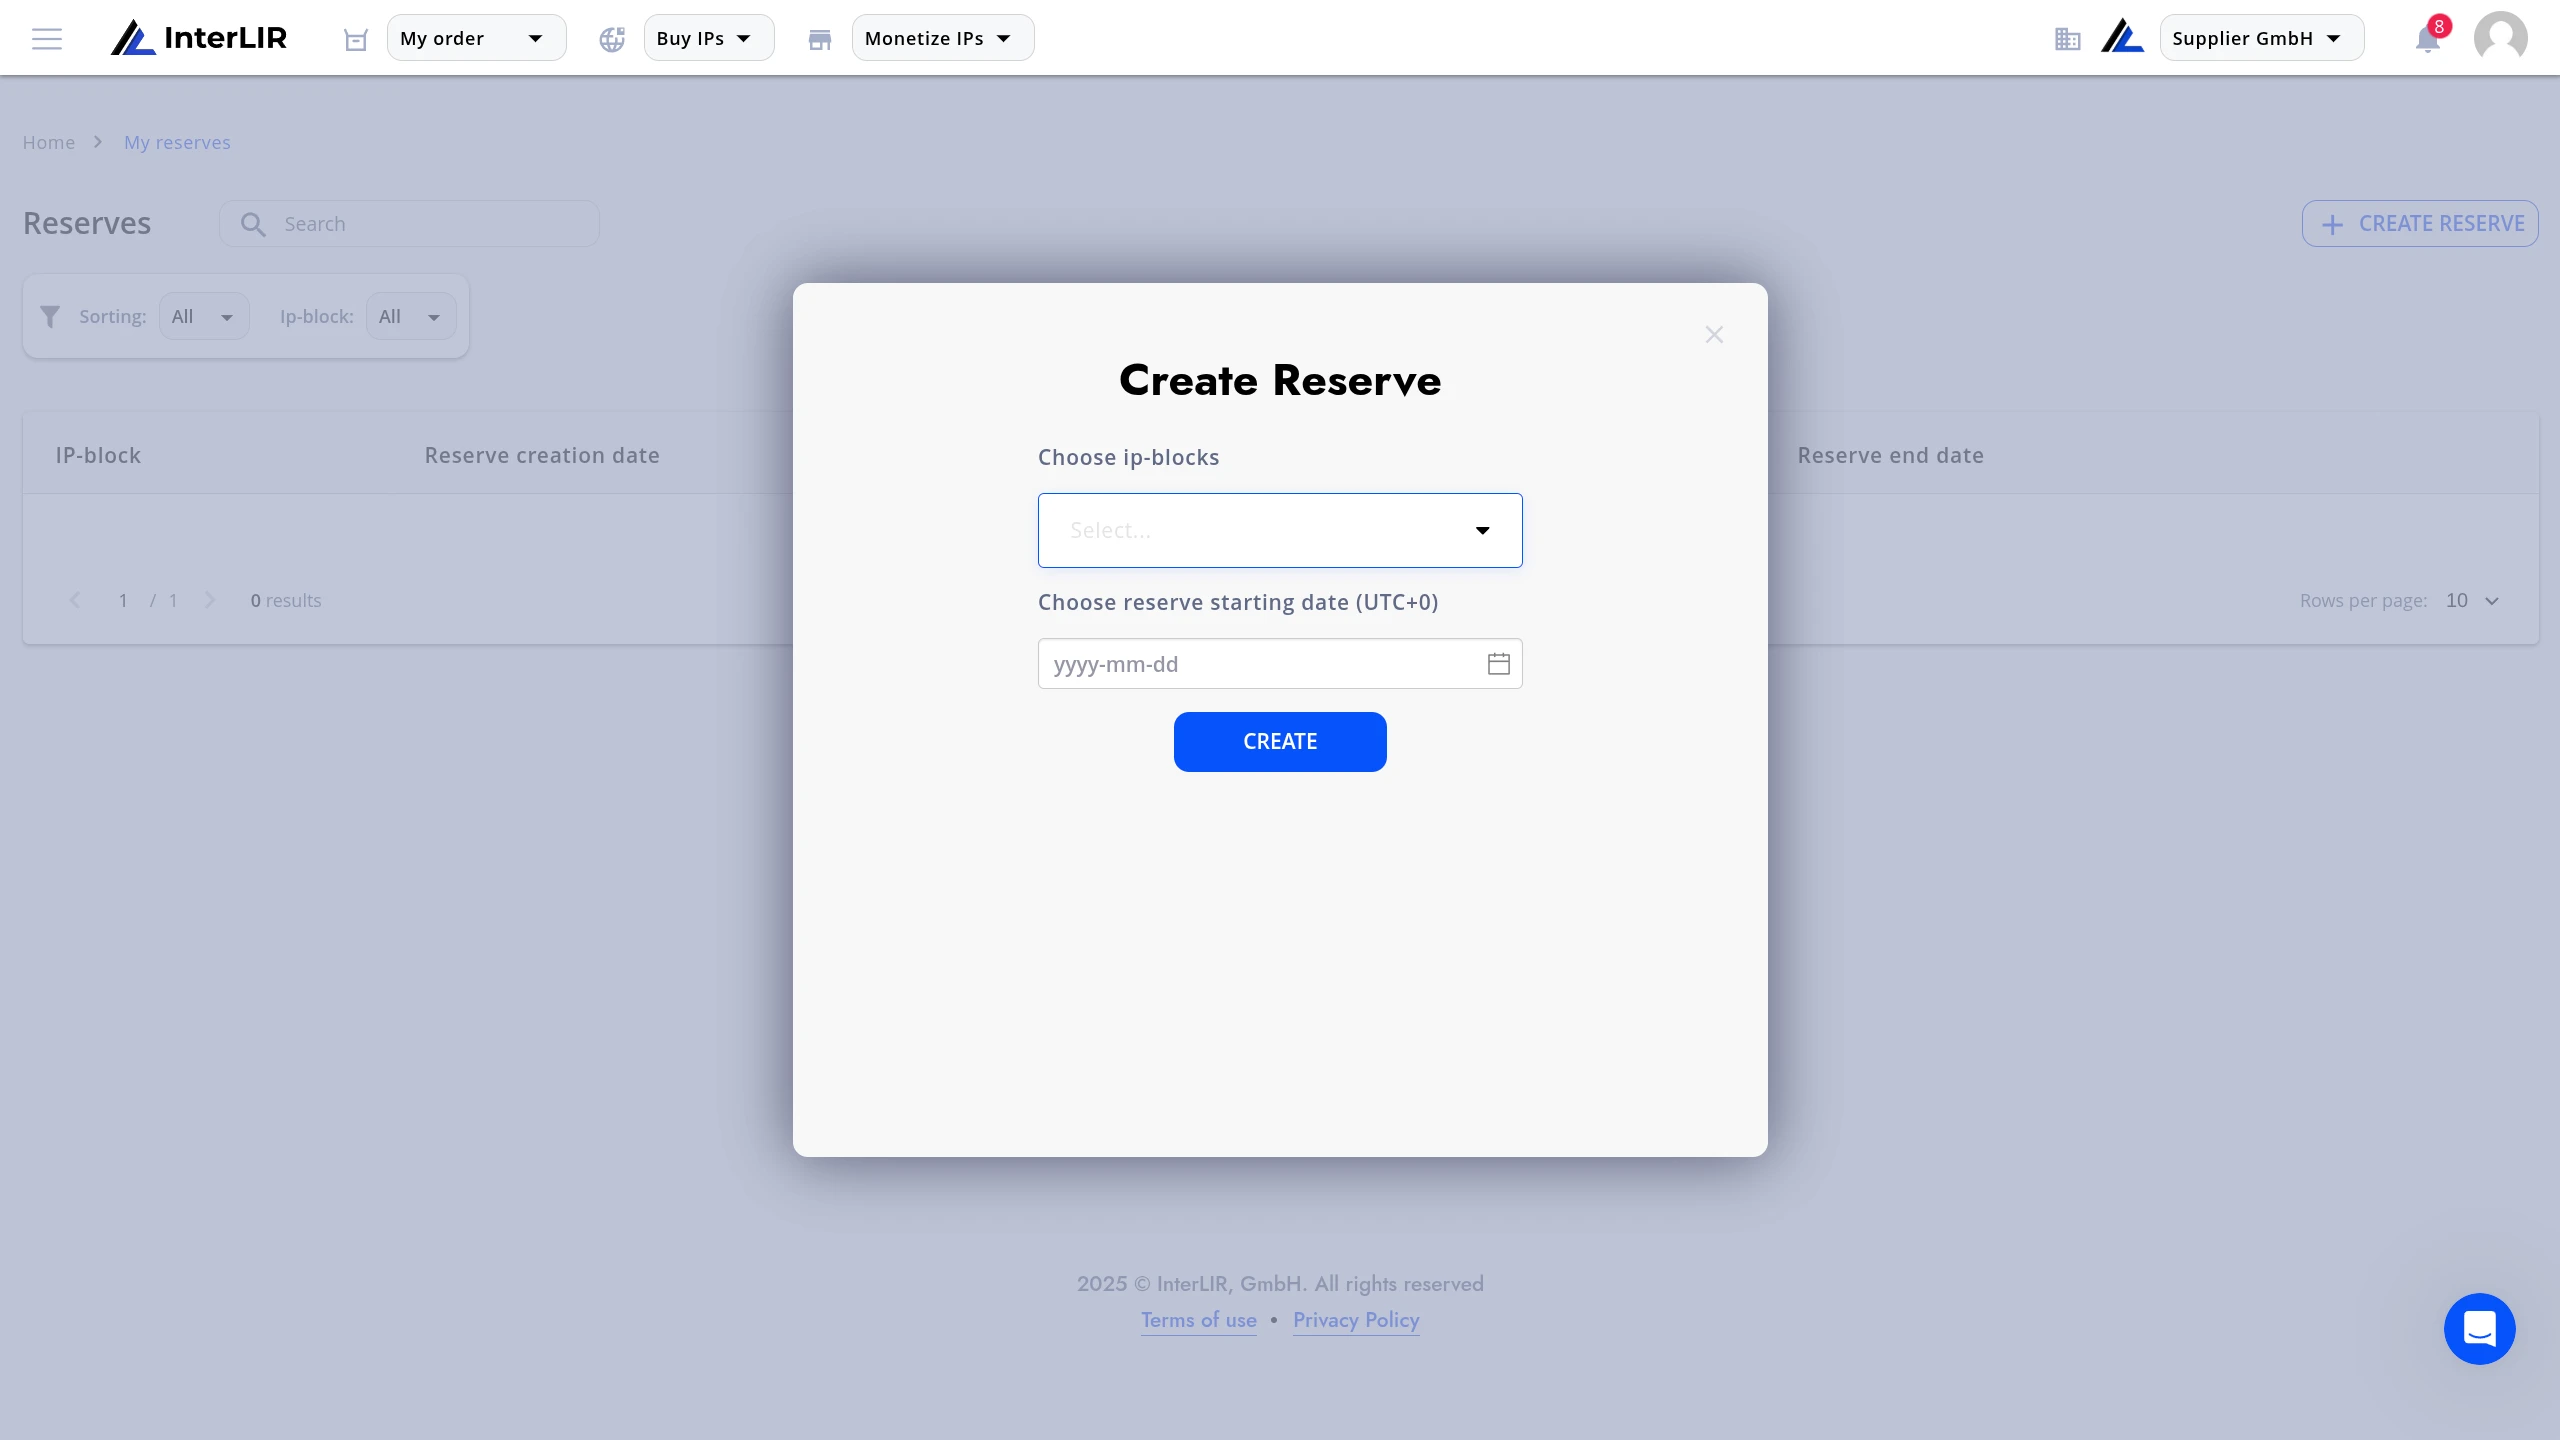
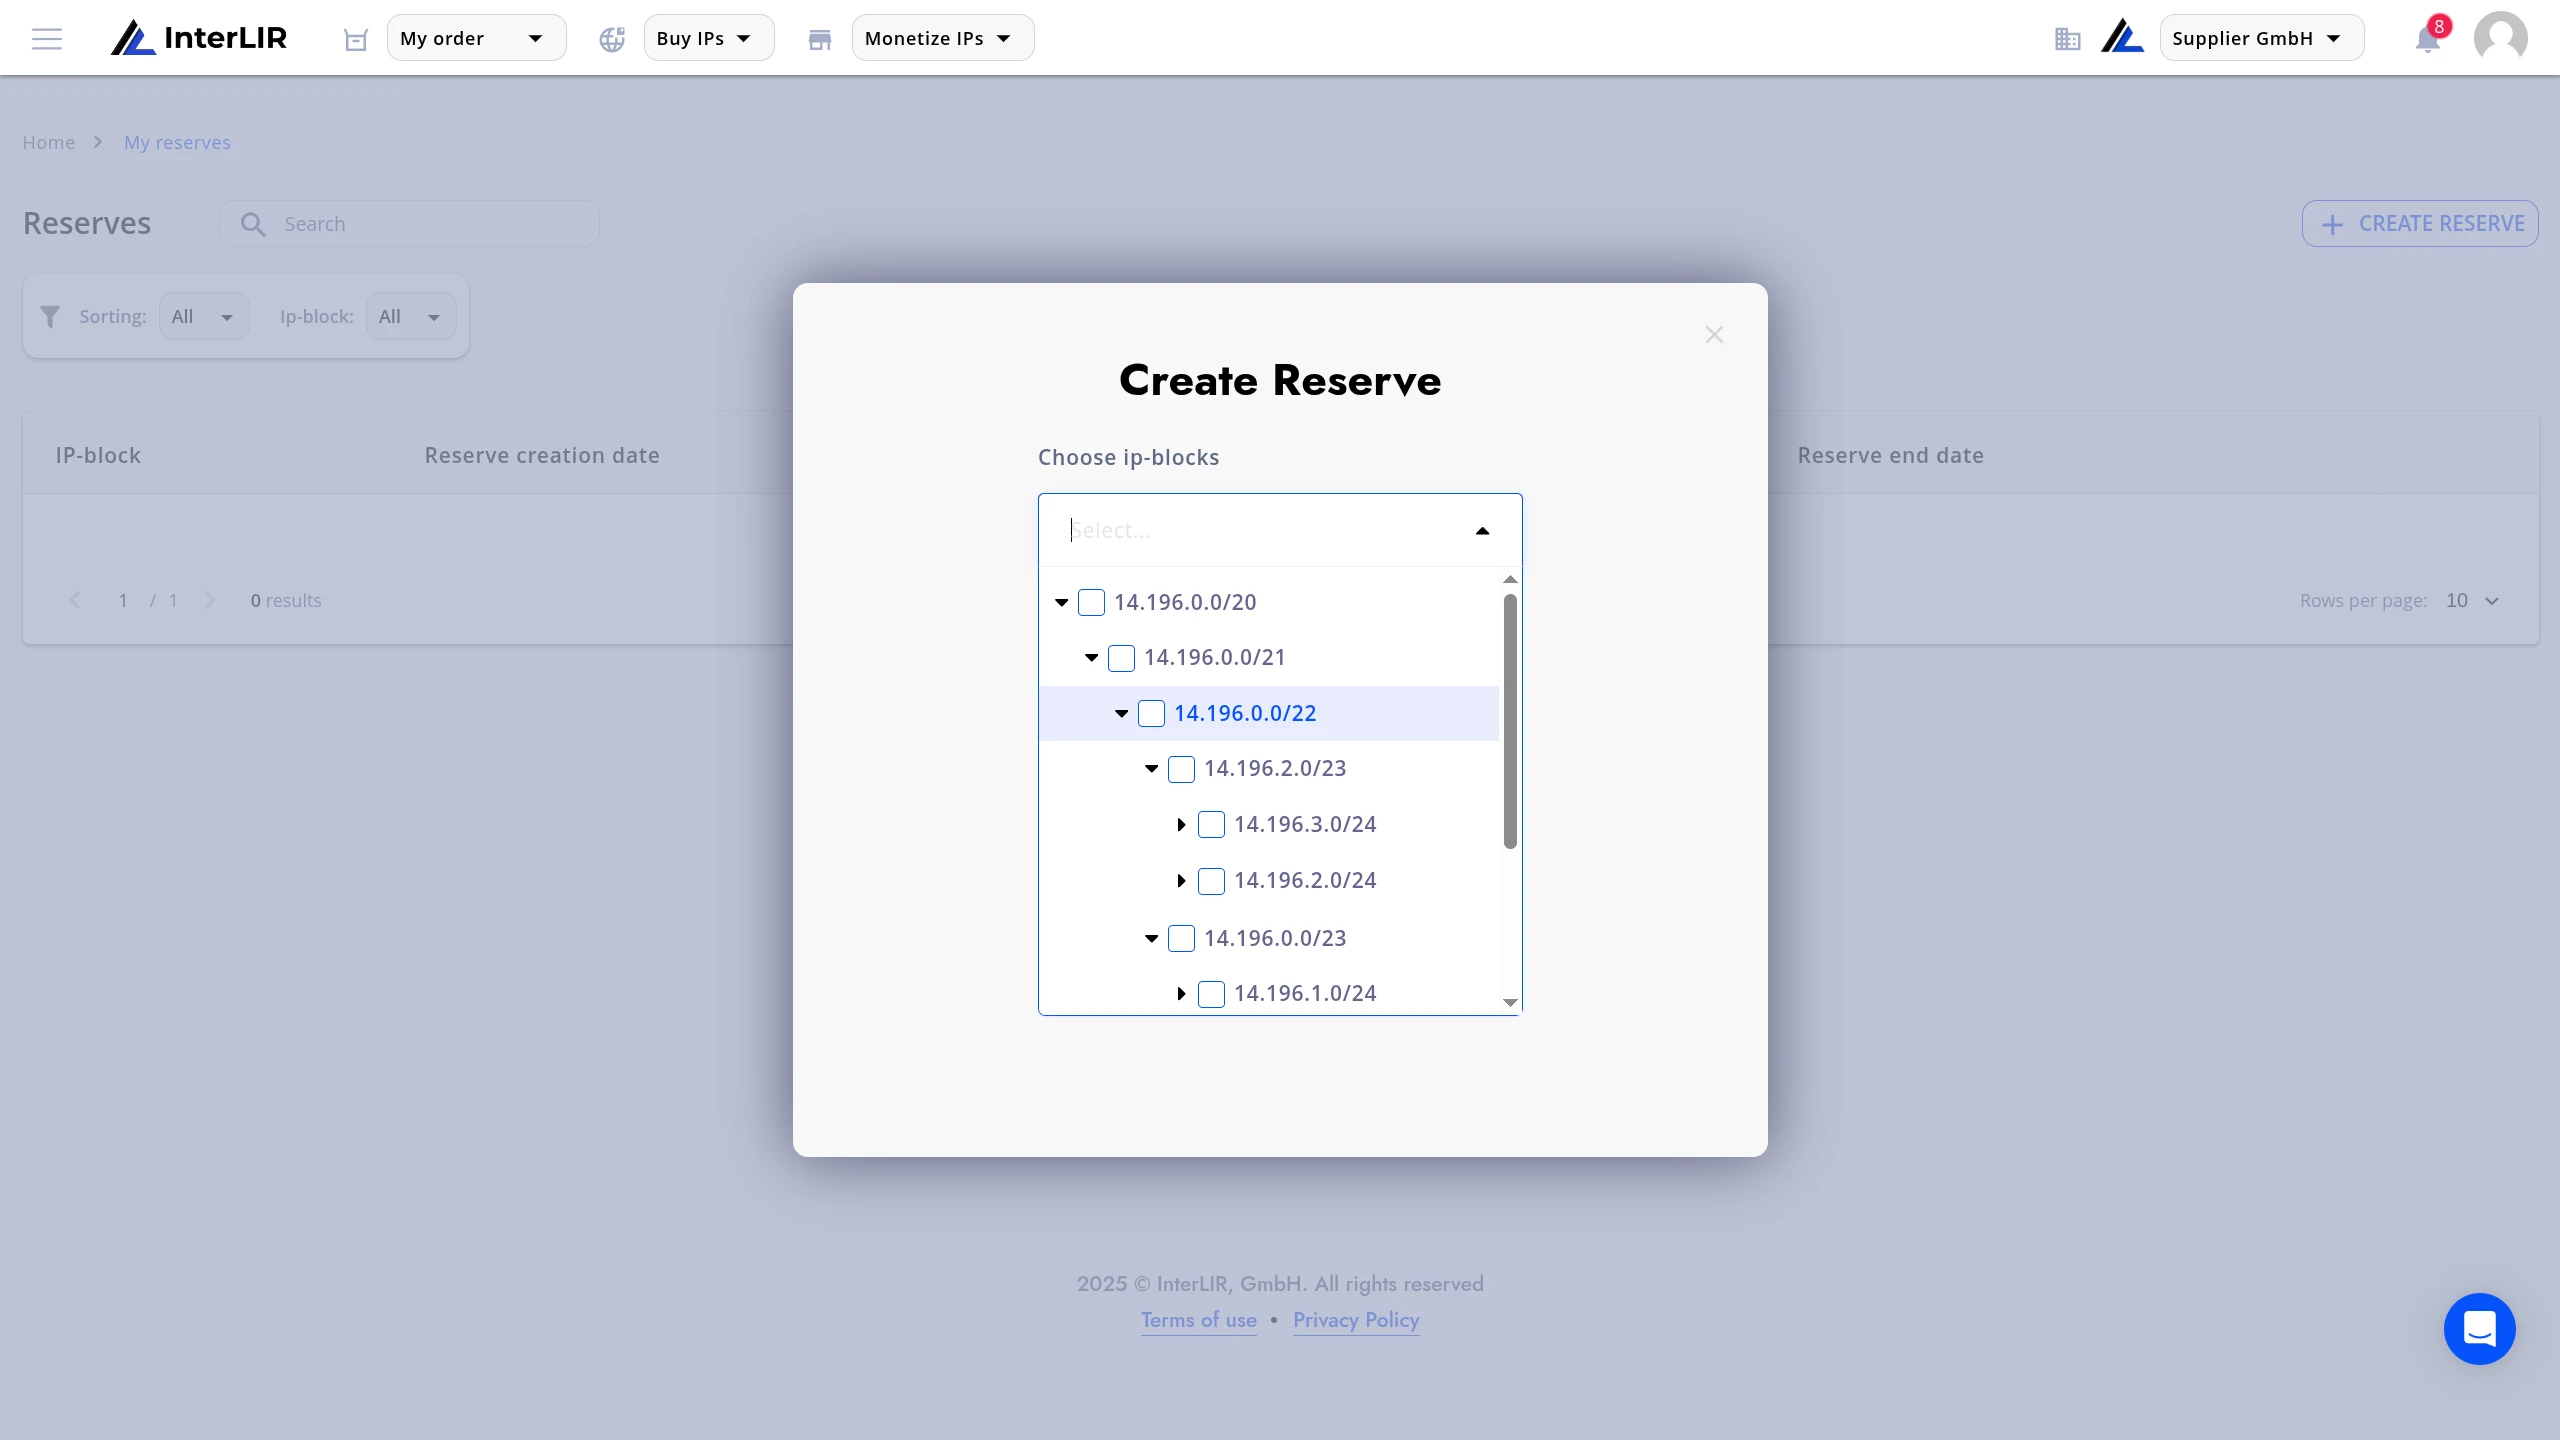
The Create Reserve dialog will open. In the dialog:
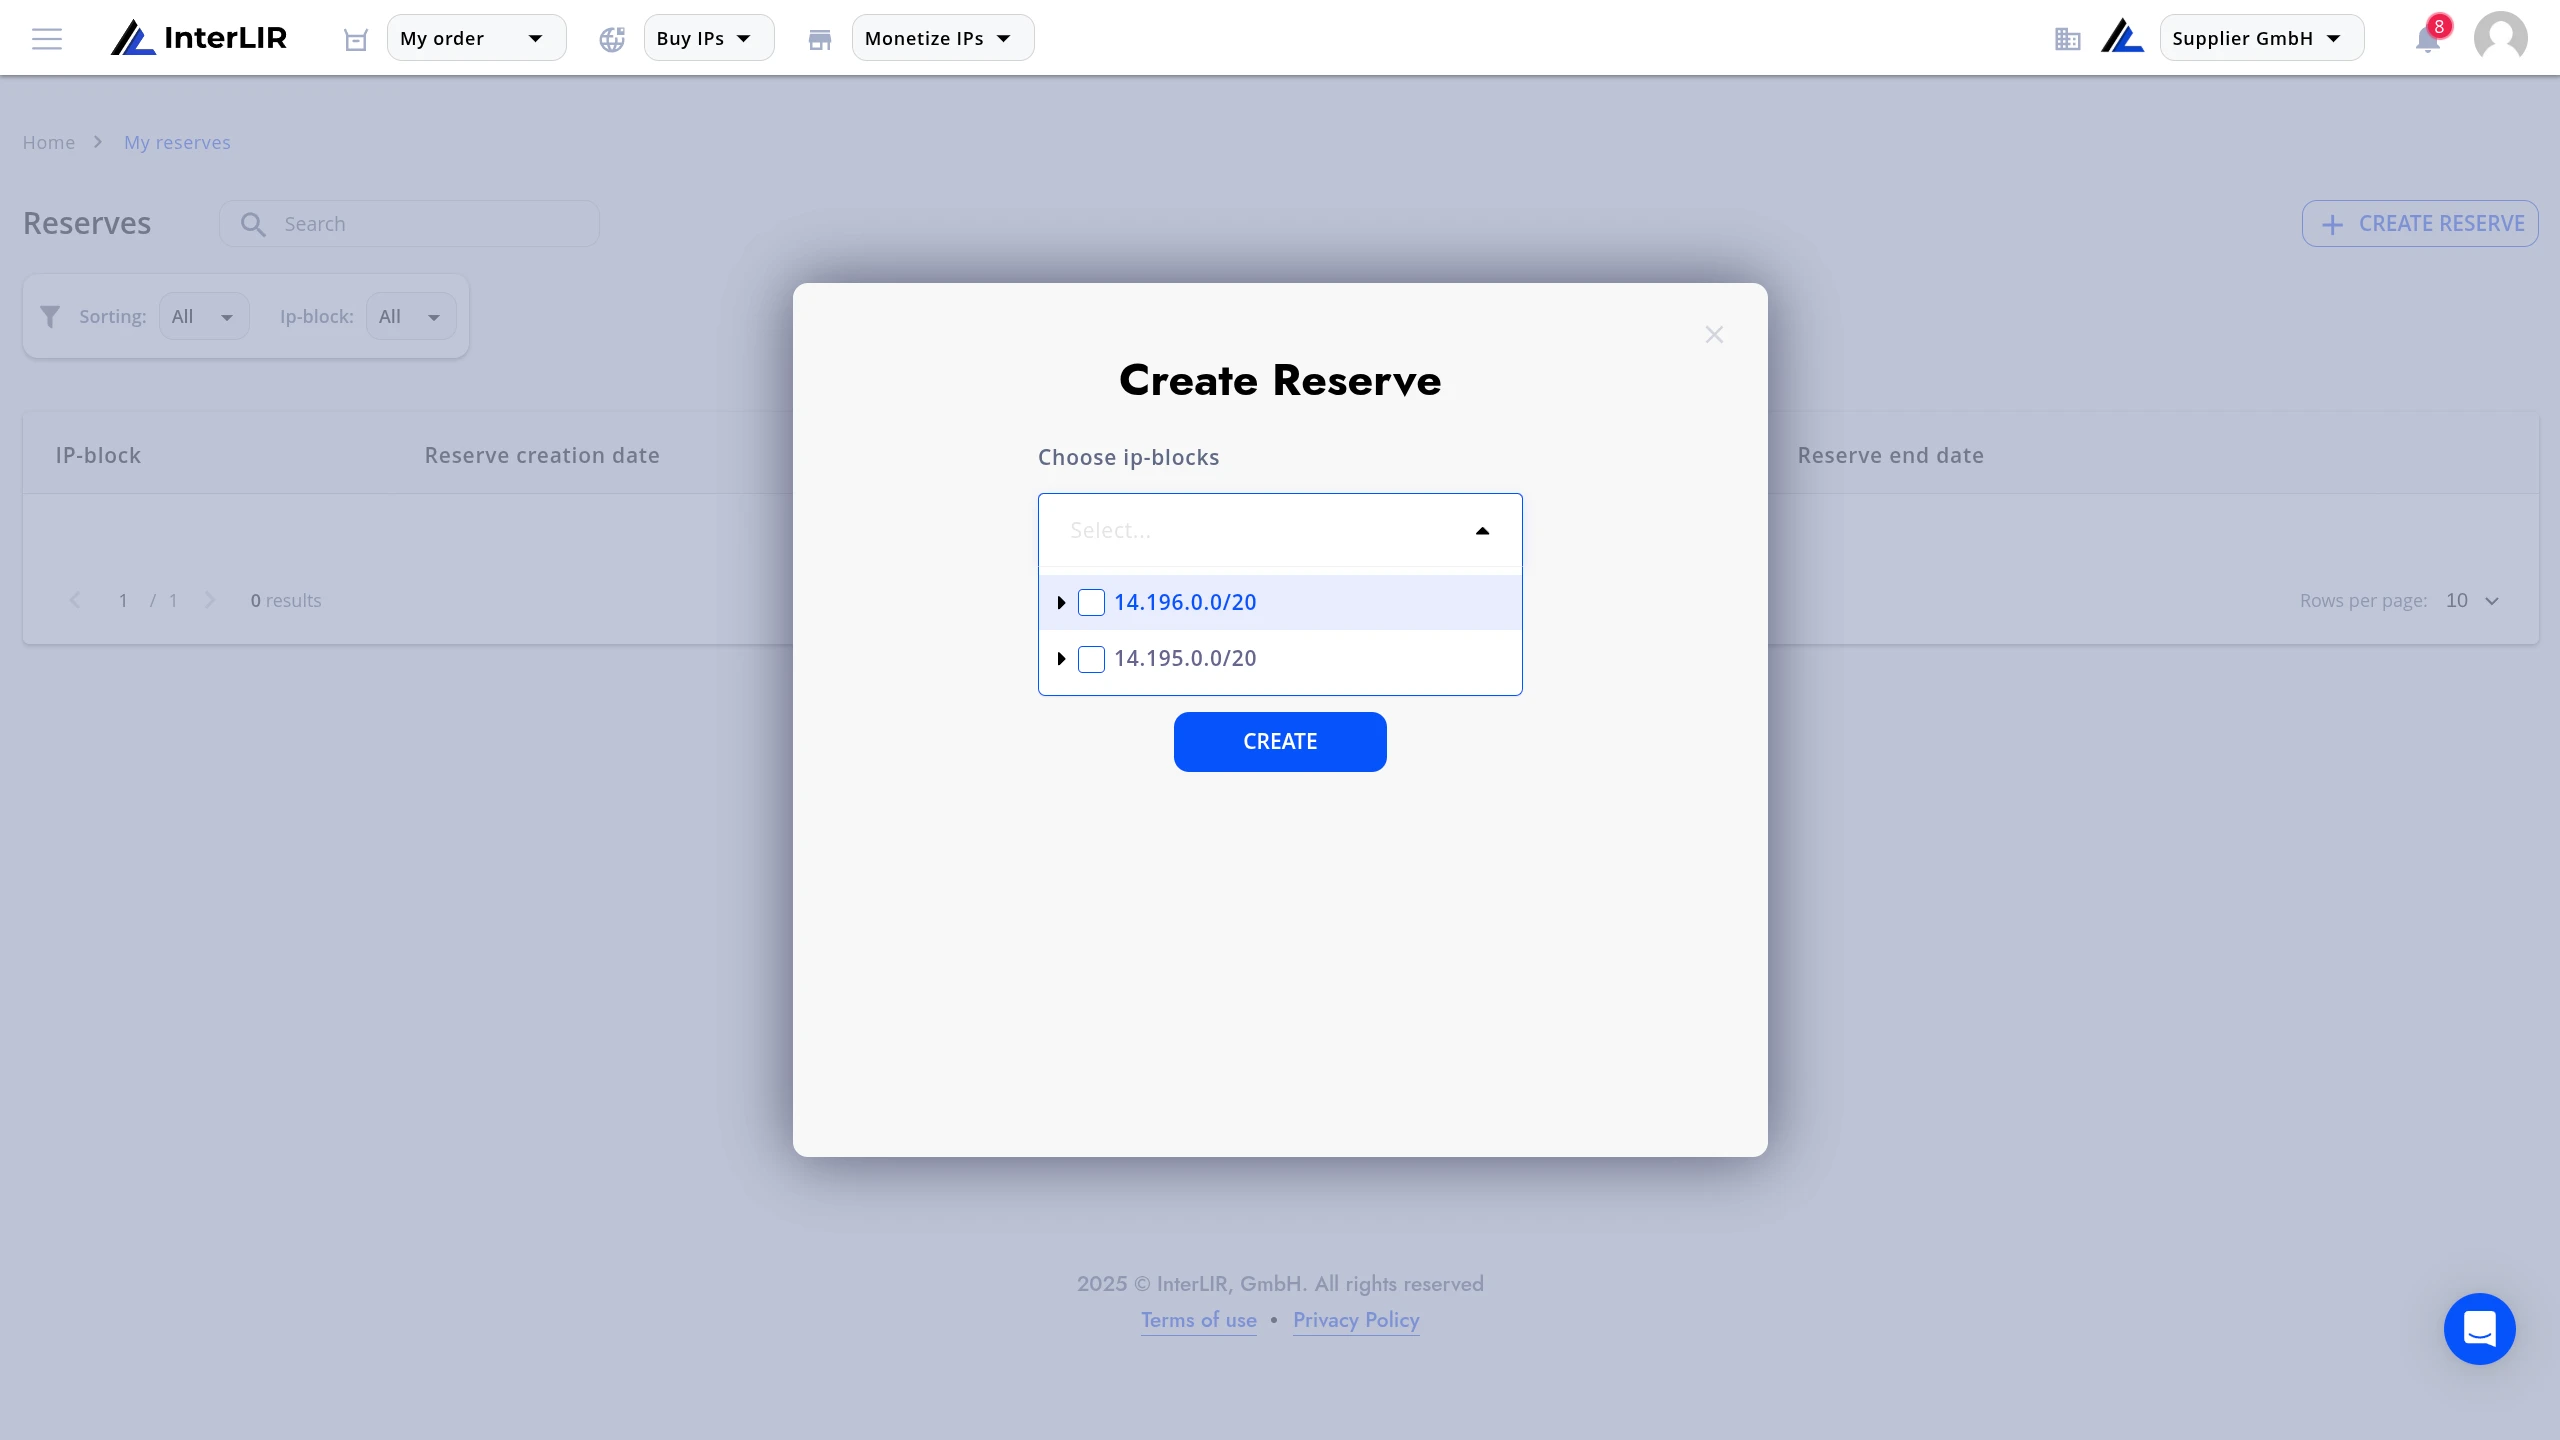
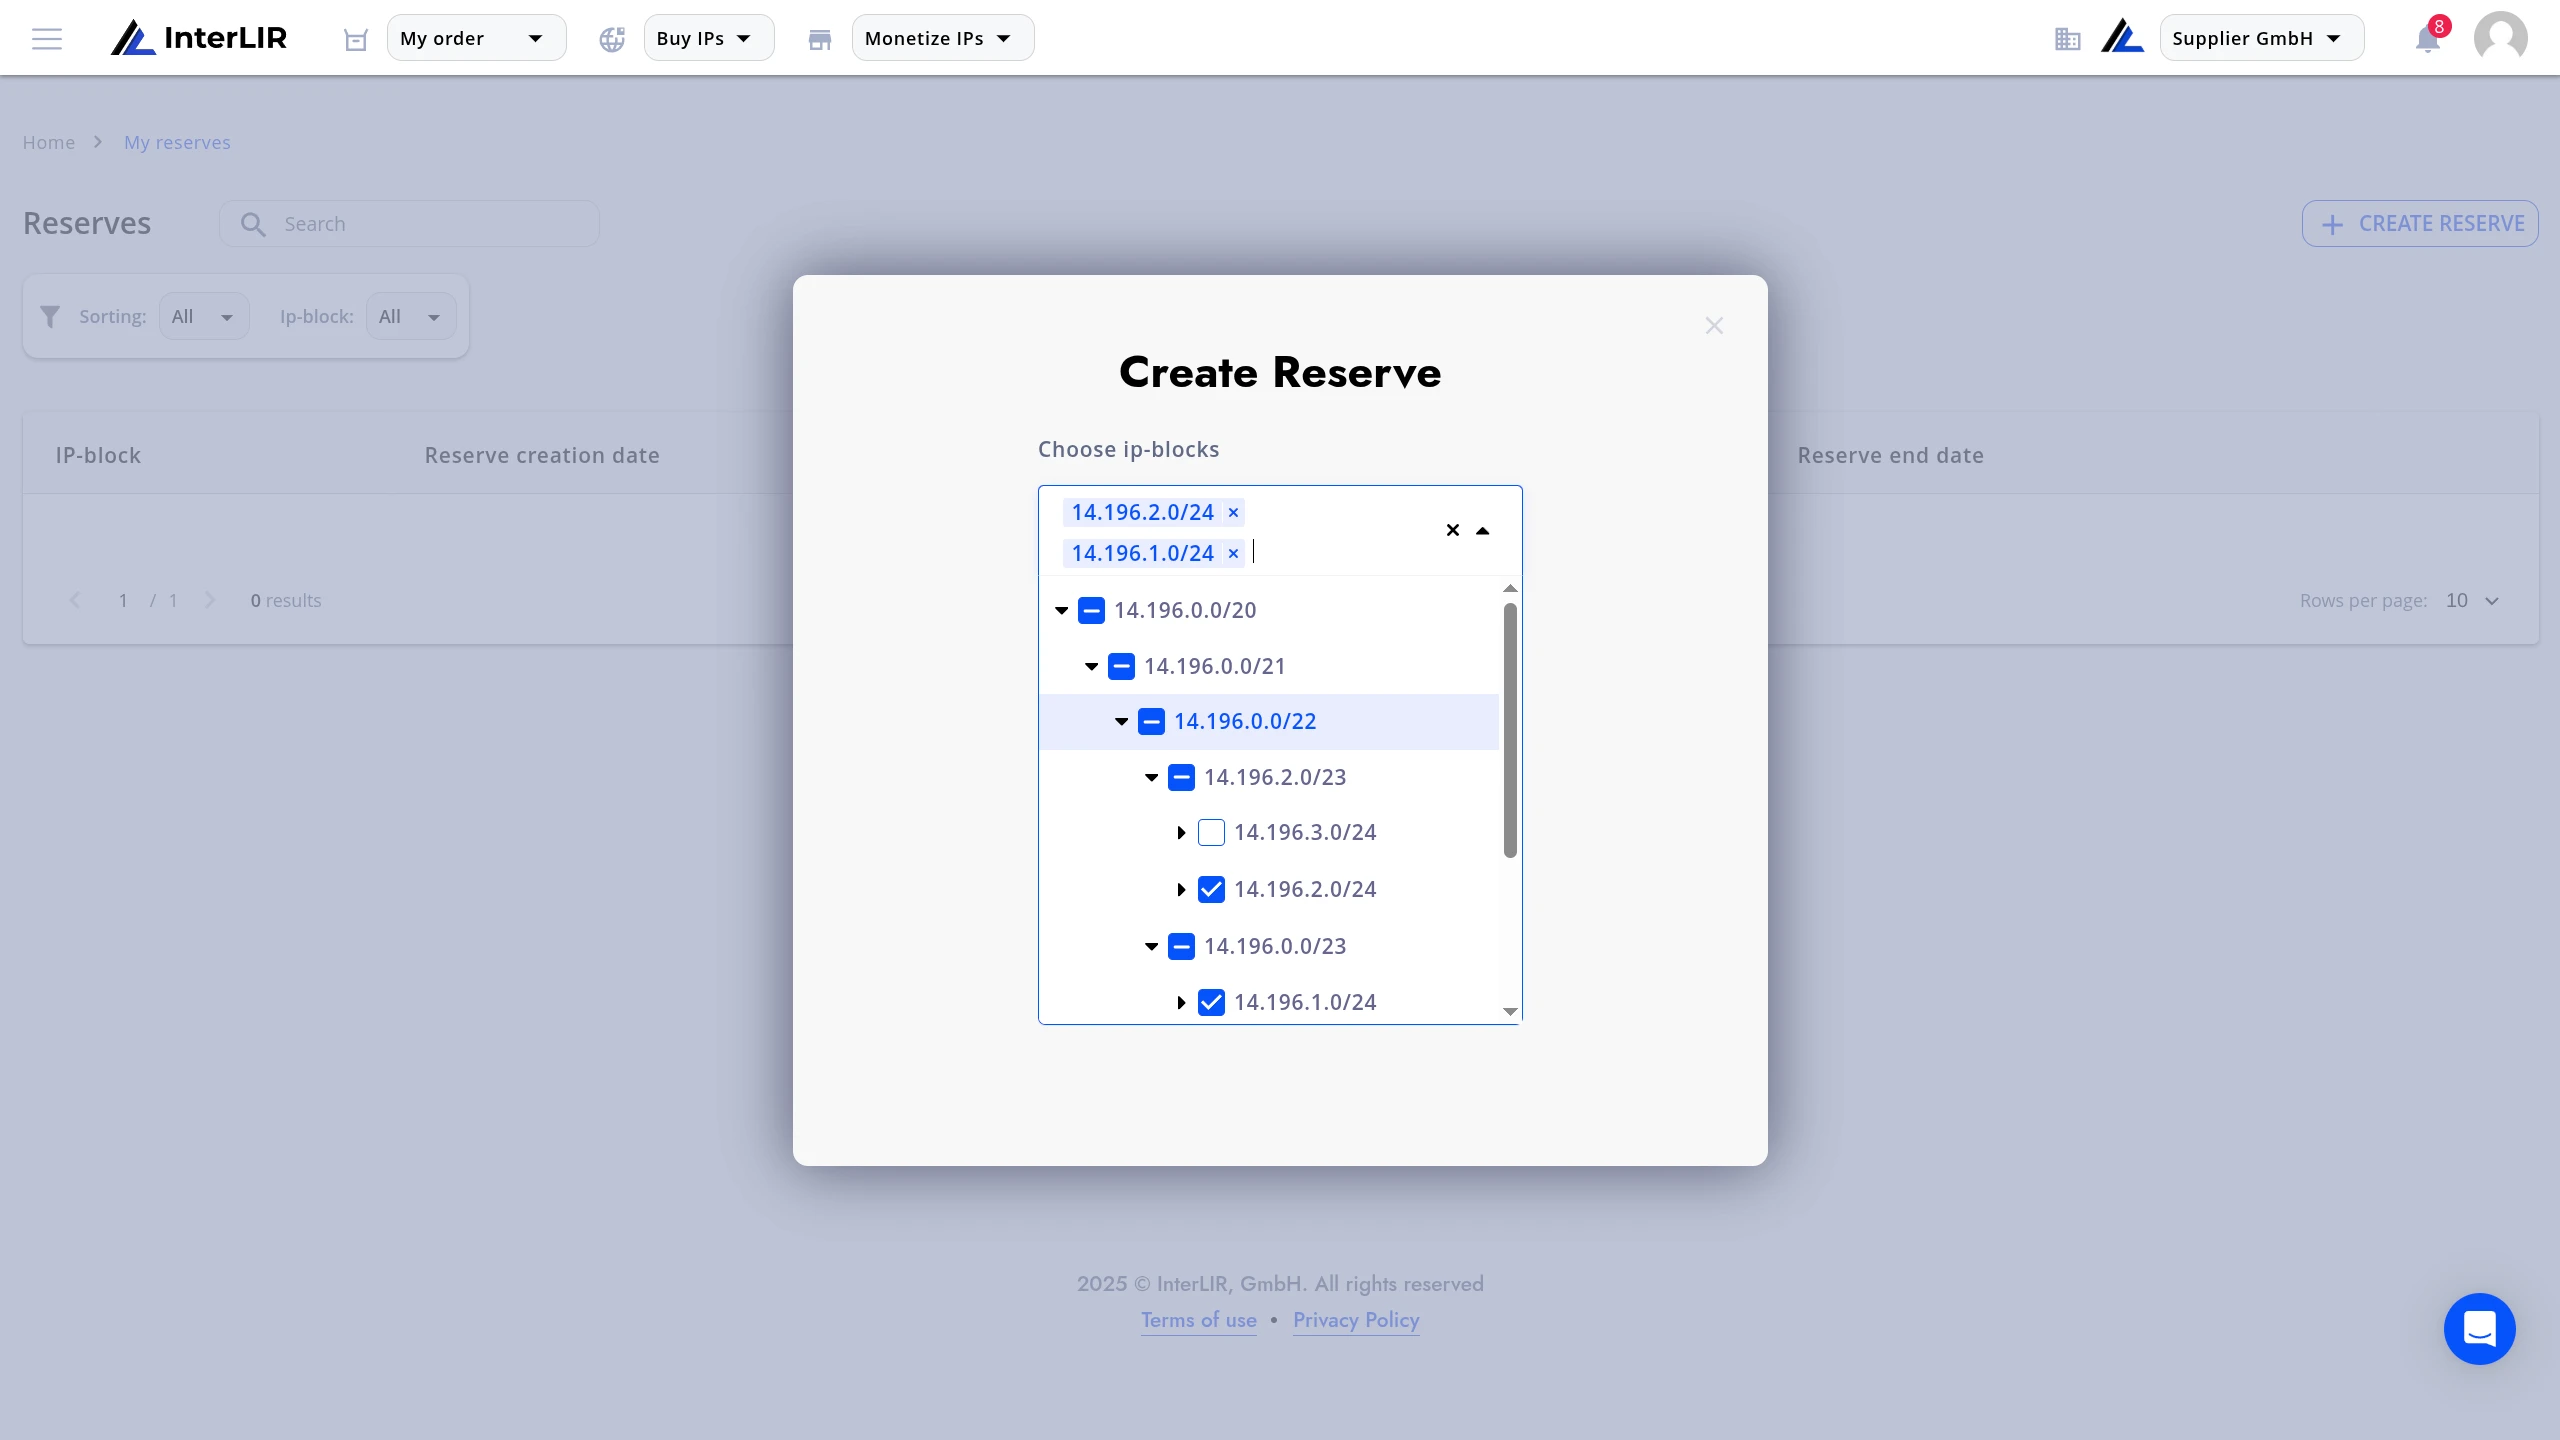
- Choose ip-blocks — select one or more IP-Blocks or sub-blocks from the dropdown. You can add multiple blocks to a single reserve.
- Choose reserve starting date (UTC+0) — click the date field to open the calendar and pick the date on which the reserve should become active.
After selecting the date, the form is ready to submit.
🛈 Note: The start date is applied in UTC+0. Make sure to account for your local timezone when scheduling.
Click Create to confirm.
Step 3 — Verify the Reserve
After creation, a new record will appear in the reserves table with the following columns:
| Column | Description |
|---|---|
| IP-block | The CIDR of the reserved block |
| Reserve creation date | The date the reserve was created |
| Reserve start date | The date the block will be hidden from the Marketplace |
| Reserve end date | Filled when the reserve is deleted |
When the selected start date is reached, the block is automatically removed from the Marketplace.
Deleting a Reserve
To return an IP-Block to the Marketplace, find the reserve record in the table and click Delete.
The reserve is removed immediately and the block becomes visible on the Marketplace again.
⚠️ Note: Deleting a reserve cannot be undone. To hide the block again, you will need to create a new reserve.
See also
- How to Withdraw and Return IP Sub-Blocks — temporarily remove sub-blocks from platform circulation for your own use
- How to Import an IP Block — make your blocks available for rent on the Marketplace
- How to Import a Sale Offer — list blocks for direct sale instead of rent
- How to Import an Auction — sell blocks via competitive bidding
- Reserve — glossary definition
- Withdrawal — glossary definition
- Supplier — glossary definition
- IP-Blocks — glossary definition